> For the complete documentation index, see [llms.txt](https://documentation.crossengage.io/llms.txt). Markdown versions of documentation pages are available by appending `.md` to page URLs; this page is available as [Markdown](https://documentation.crossengage.io/data-and-engagement-platform/messages/integrations/channels/push-notifications/airship/create-a-campaign-message-with-airship.md).
# Create a Campaign Message with Airship
* Log in to your CrossEngage account.
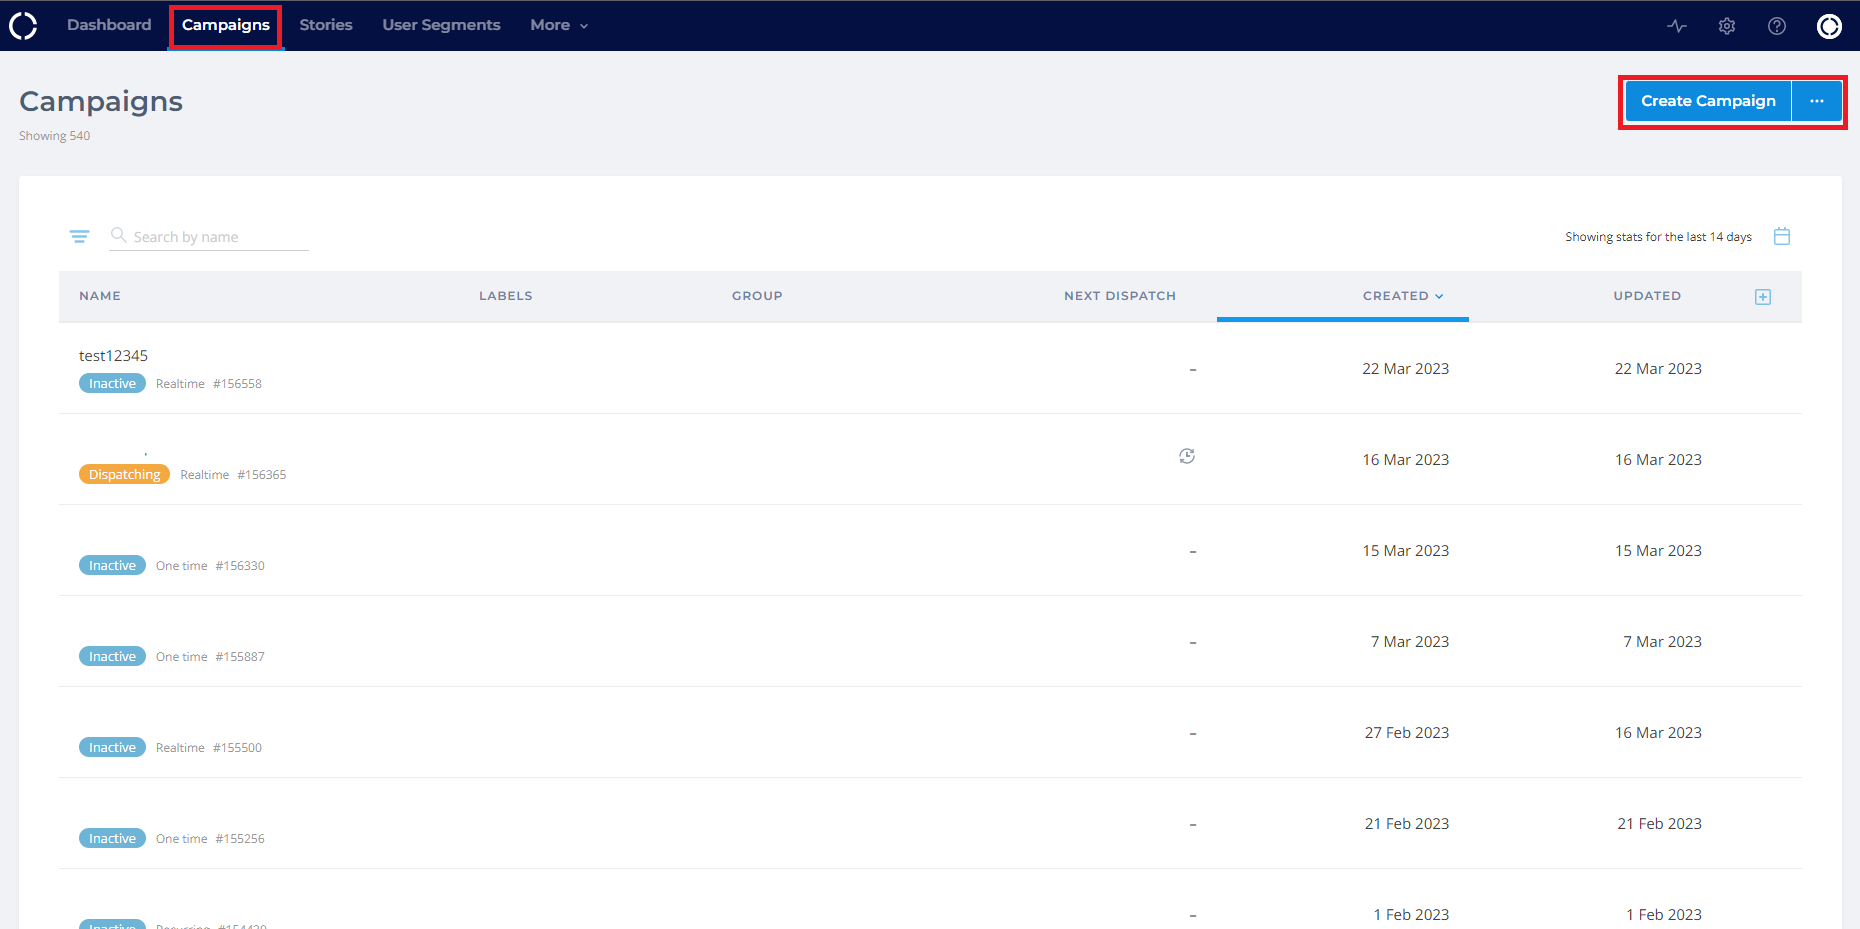
* Go to “Campaigns” and click “Create Campaign” in the top right corner of the page.
* Choose the type of campaign (audience or real-time) you want to create. Learn about the distinction between these two types of campaigns [here](https://documentation.crossengage.io/faq/campaigns/when-should-i-use-audience-and-realtime-campaigns).
* The third step in the campaign creation flow is message creation. Click “Create new message”.
* Select “Push Notification”.
* Select the Airship integration you set up earlier from the “Send via integration” drop-down.
#### Message Setup
* Choose the project connected to the selected integration.
* Choose the template created in Airship.
* You can also specify the device or send a notification to ALL devices connected to a named user id.
#### Value Mapping
Airship allows you to use variables in your notification template for personalisation. The variables used in the template you selected are listed in the ‘Select Variable’ drop-down as shown. Map it to the appropriate data available for the user using attributes or handlebars.
**Response Data**
You will see the following response data with this integration:
* Sent
* Delivered
* Open